In FinView, cases may need to be relinked from one bucket to another for various reasons, such as differing commercial terms, a change in collection costs and interests, or applying a different workflow to the bucket. Learn how to relink a case in FinView with this step-by-step guide.
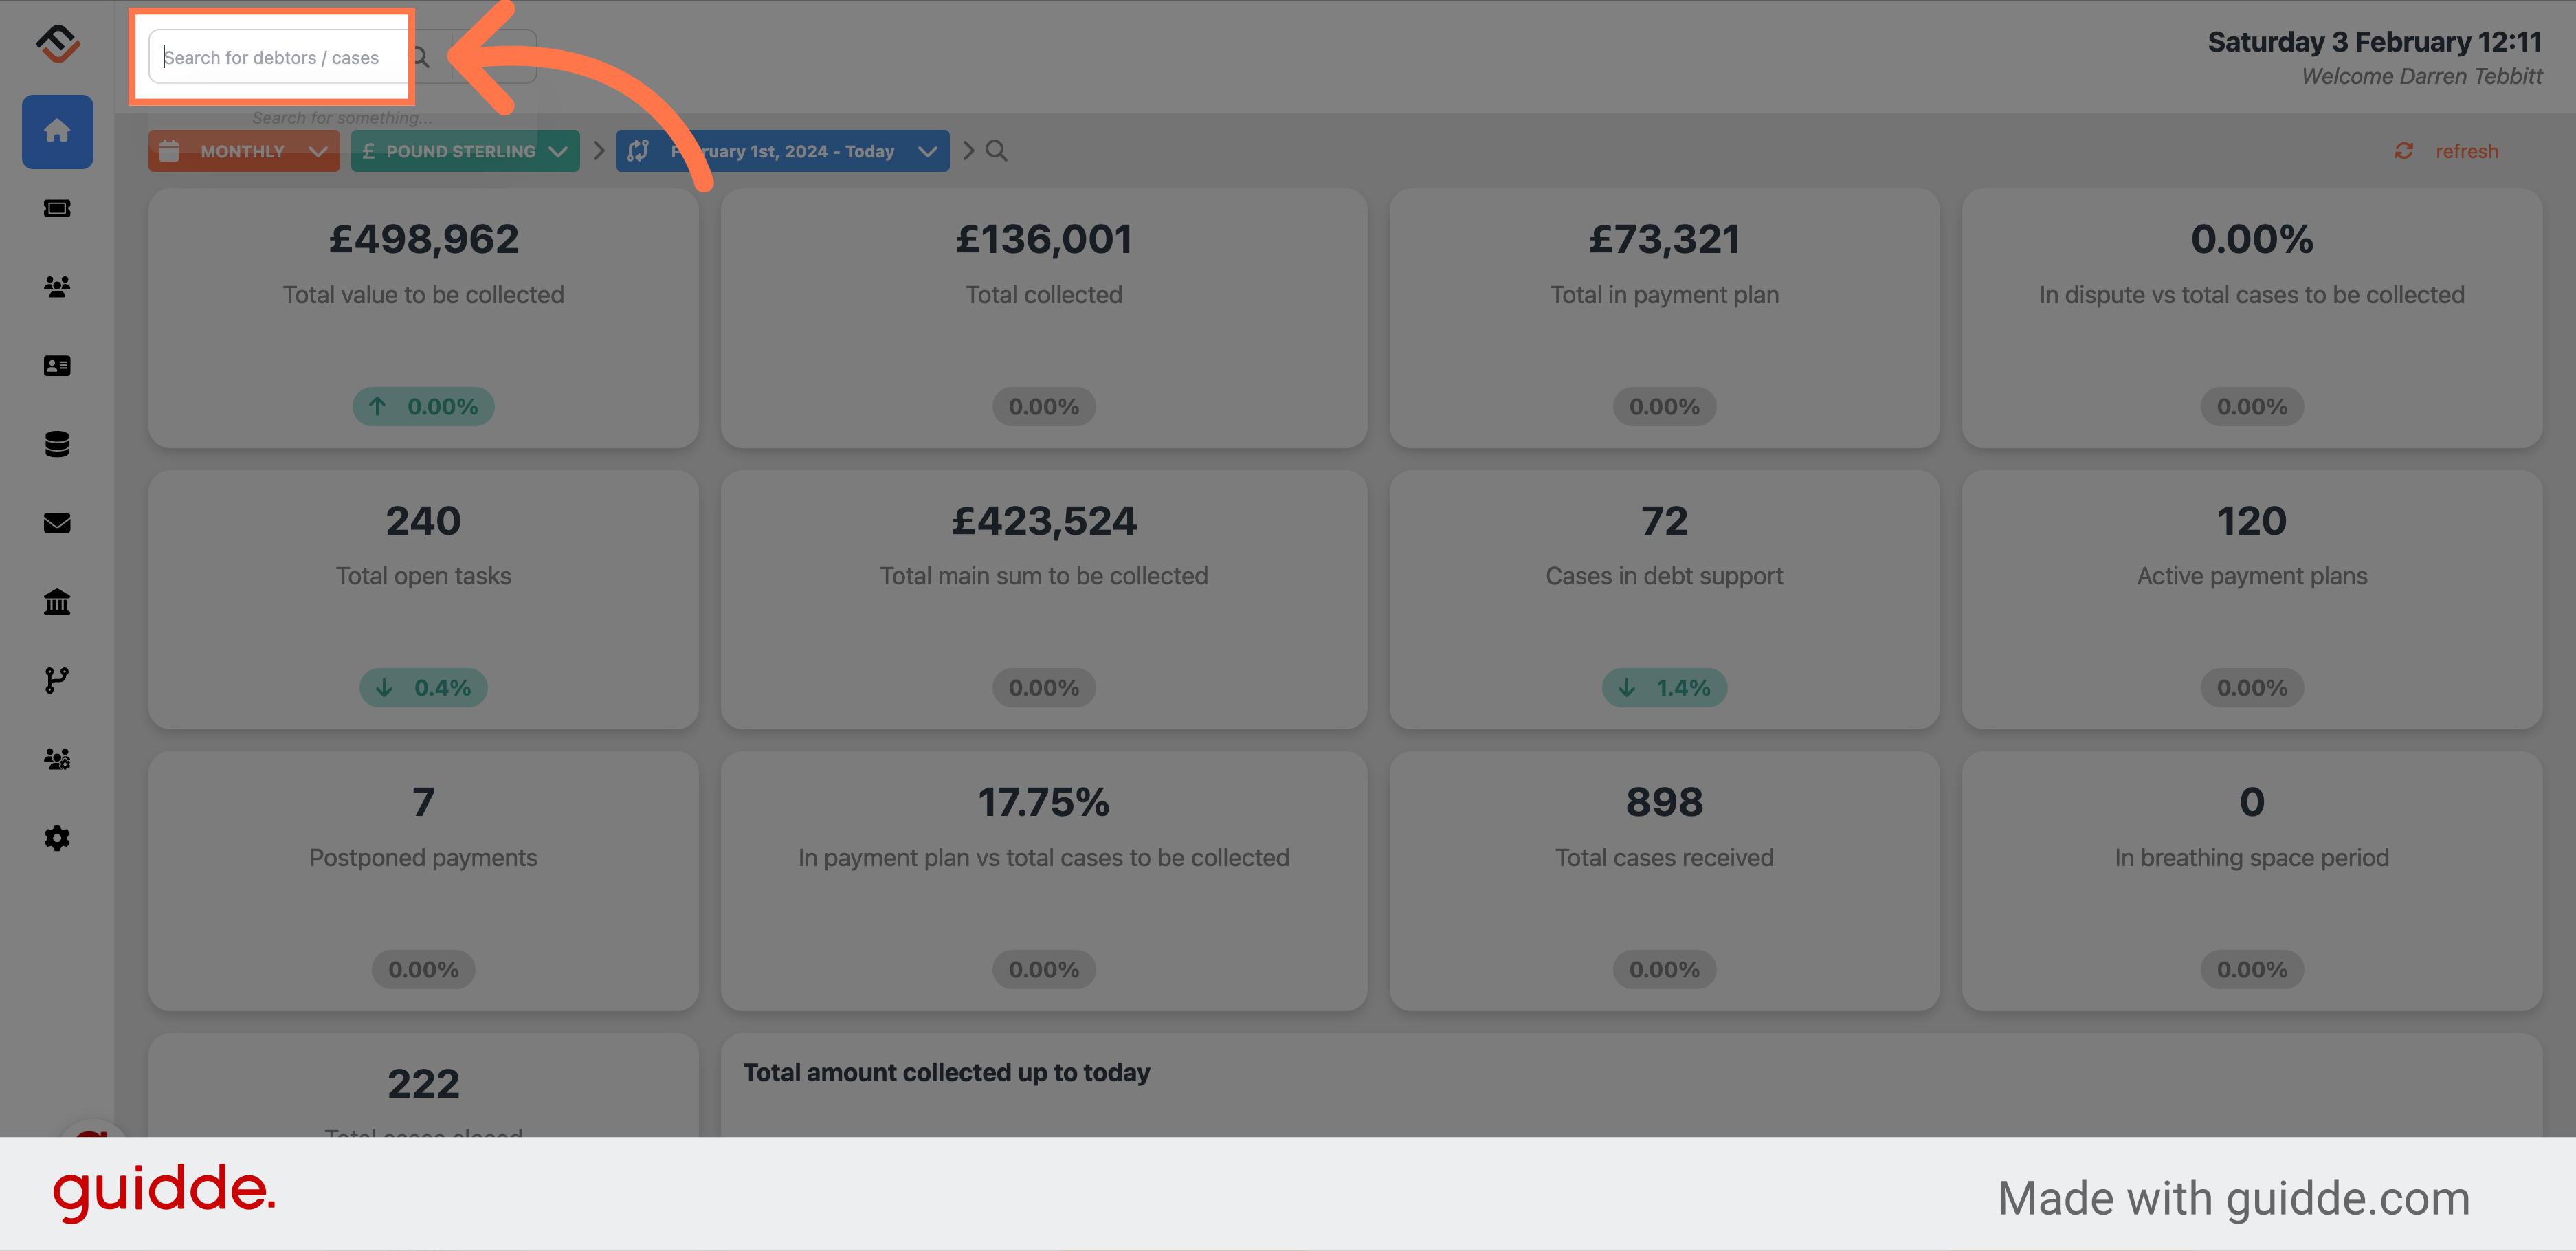
1. Search for your case
Search for case you need to relink. You can name, case number, invoice number, email address or telephone to get started.
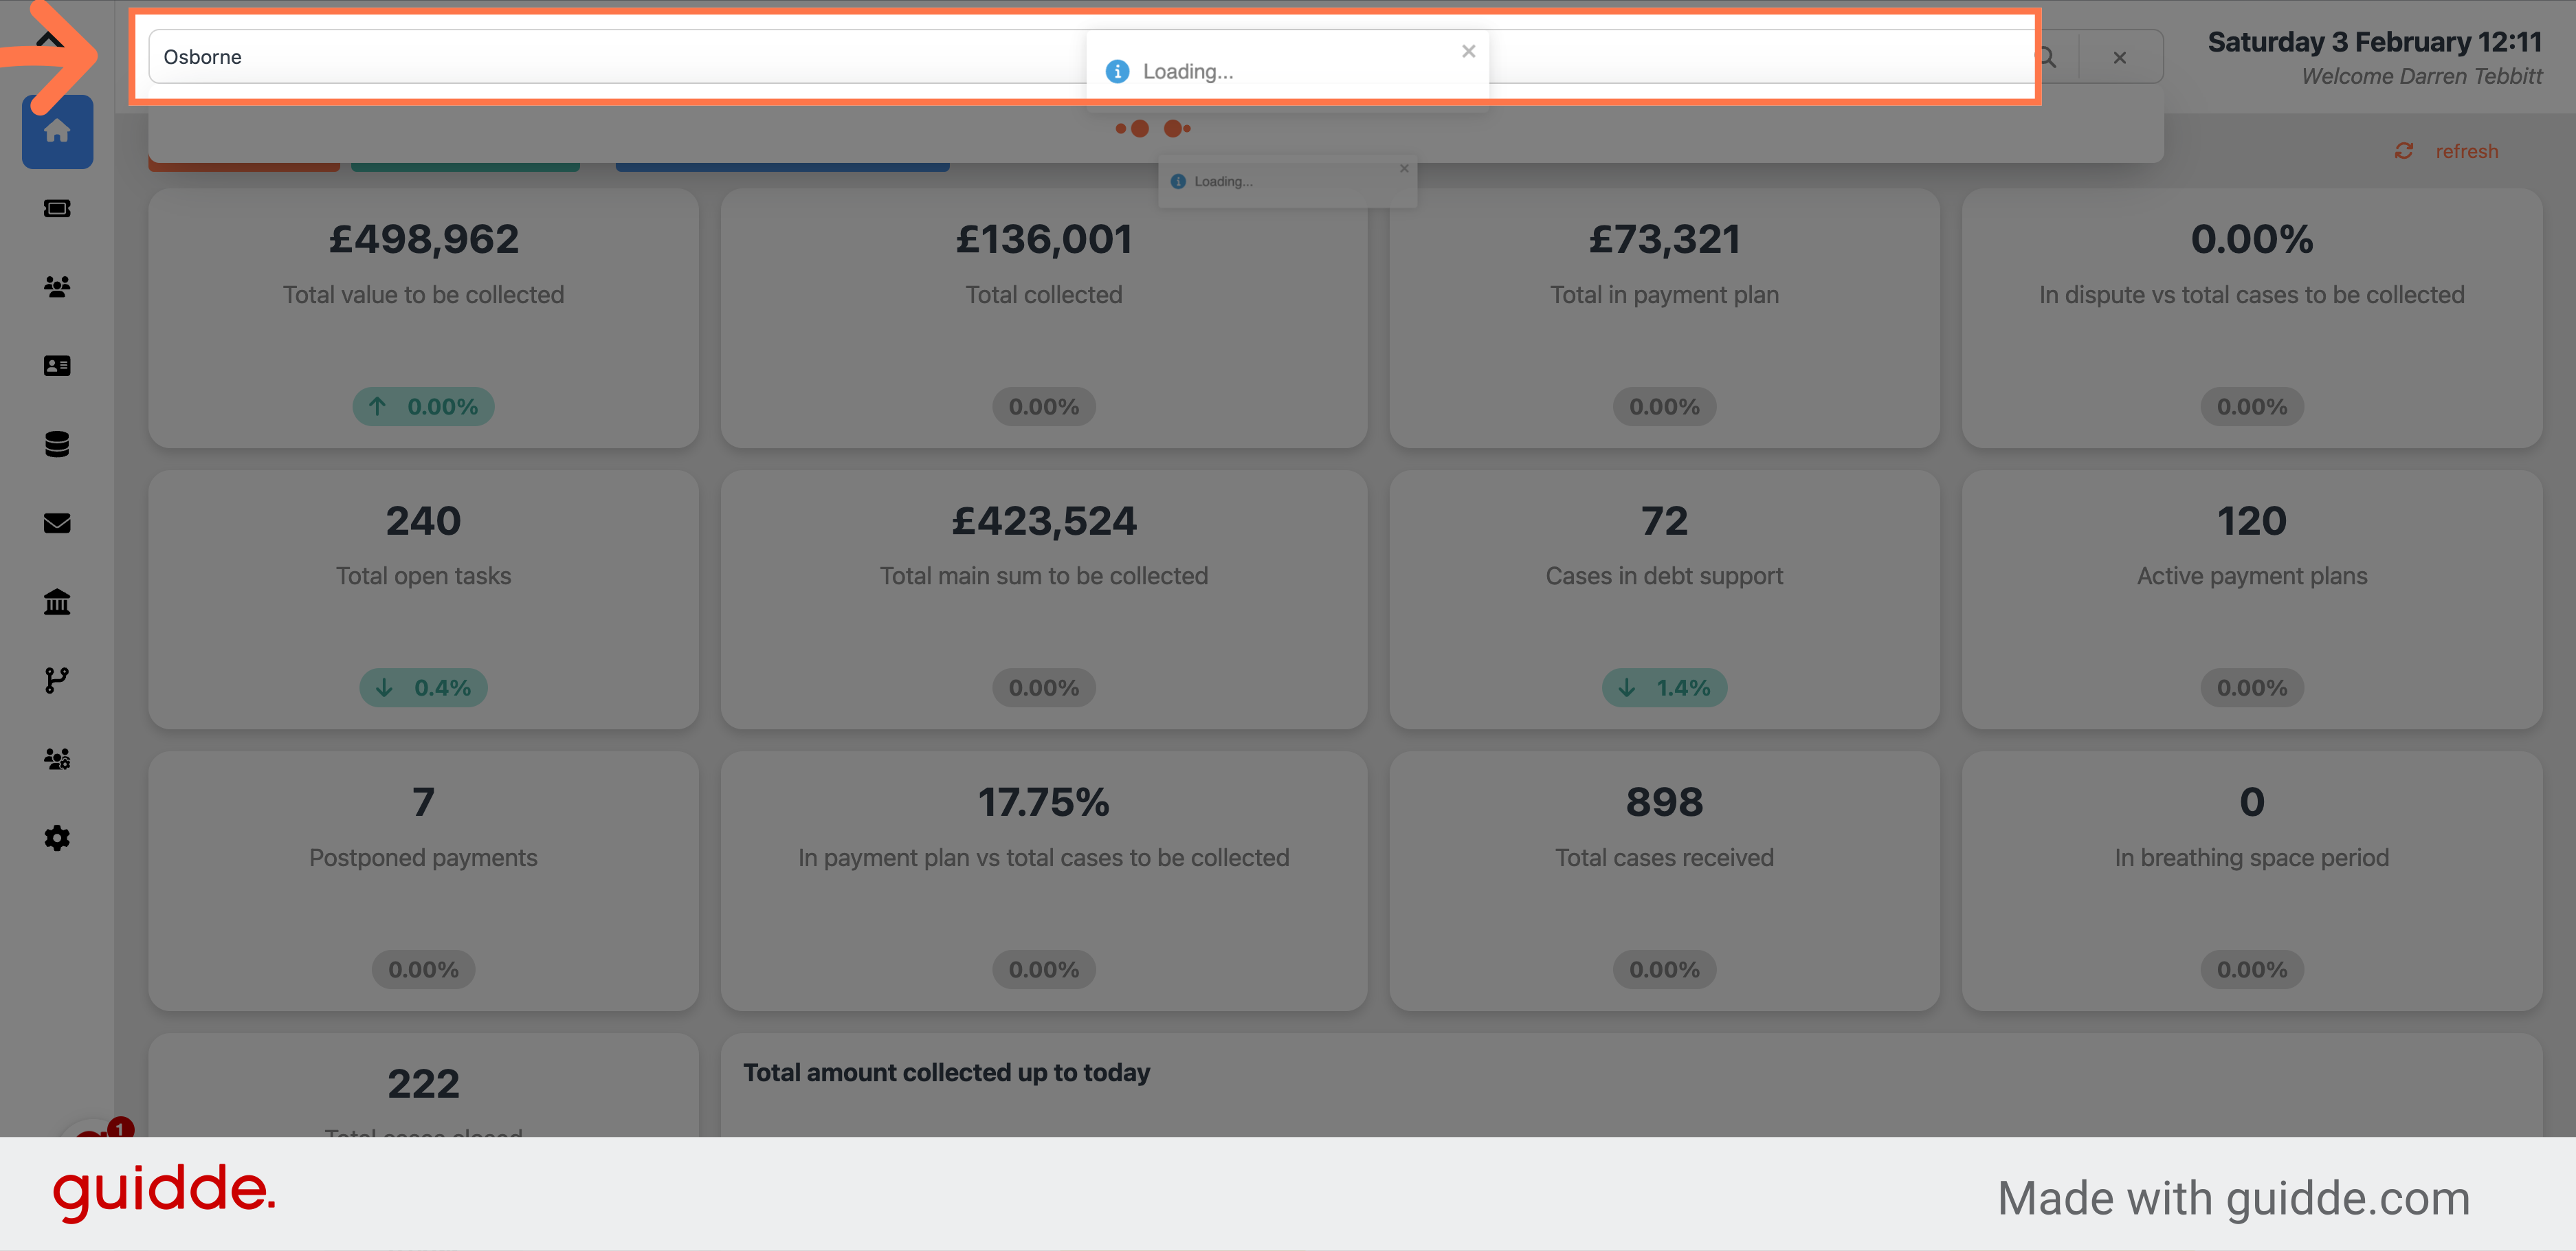
2. Enter the name
For this example we are searching for Osborne Jefferson.
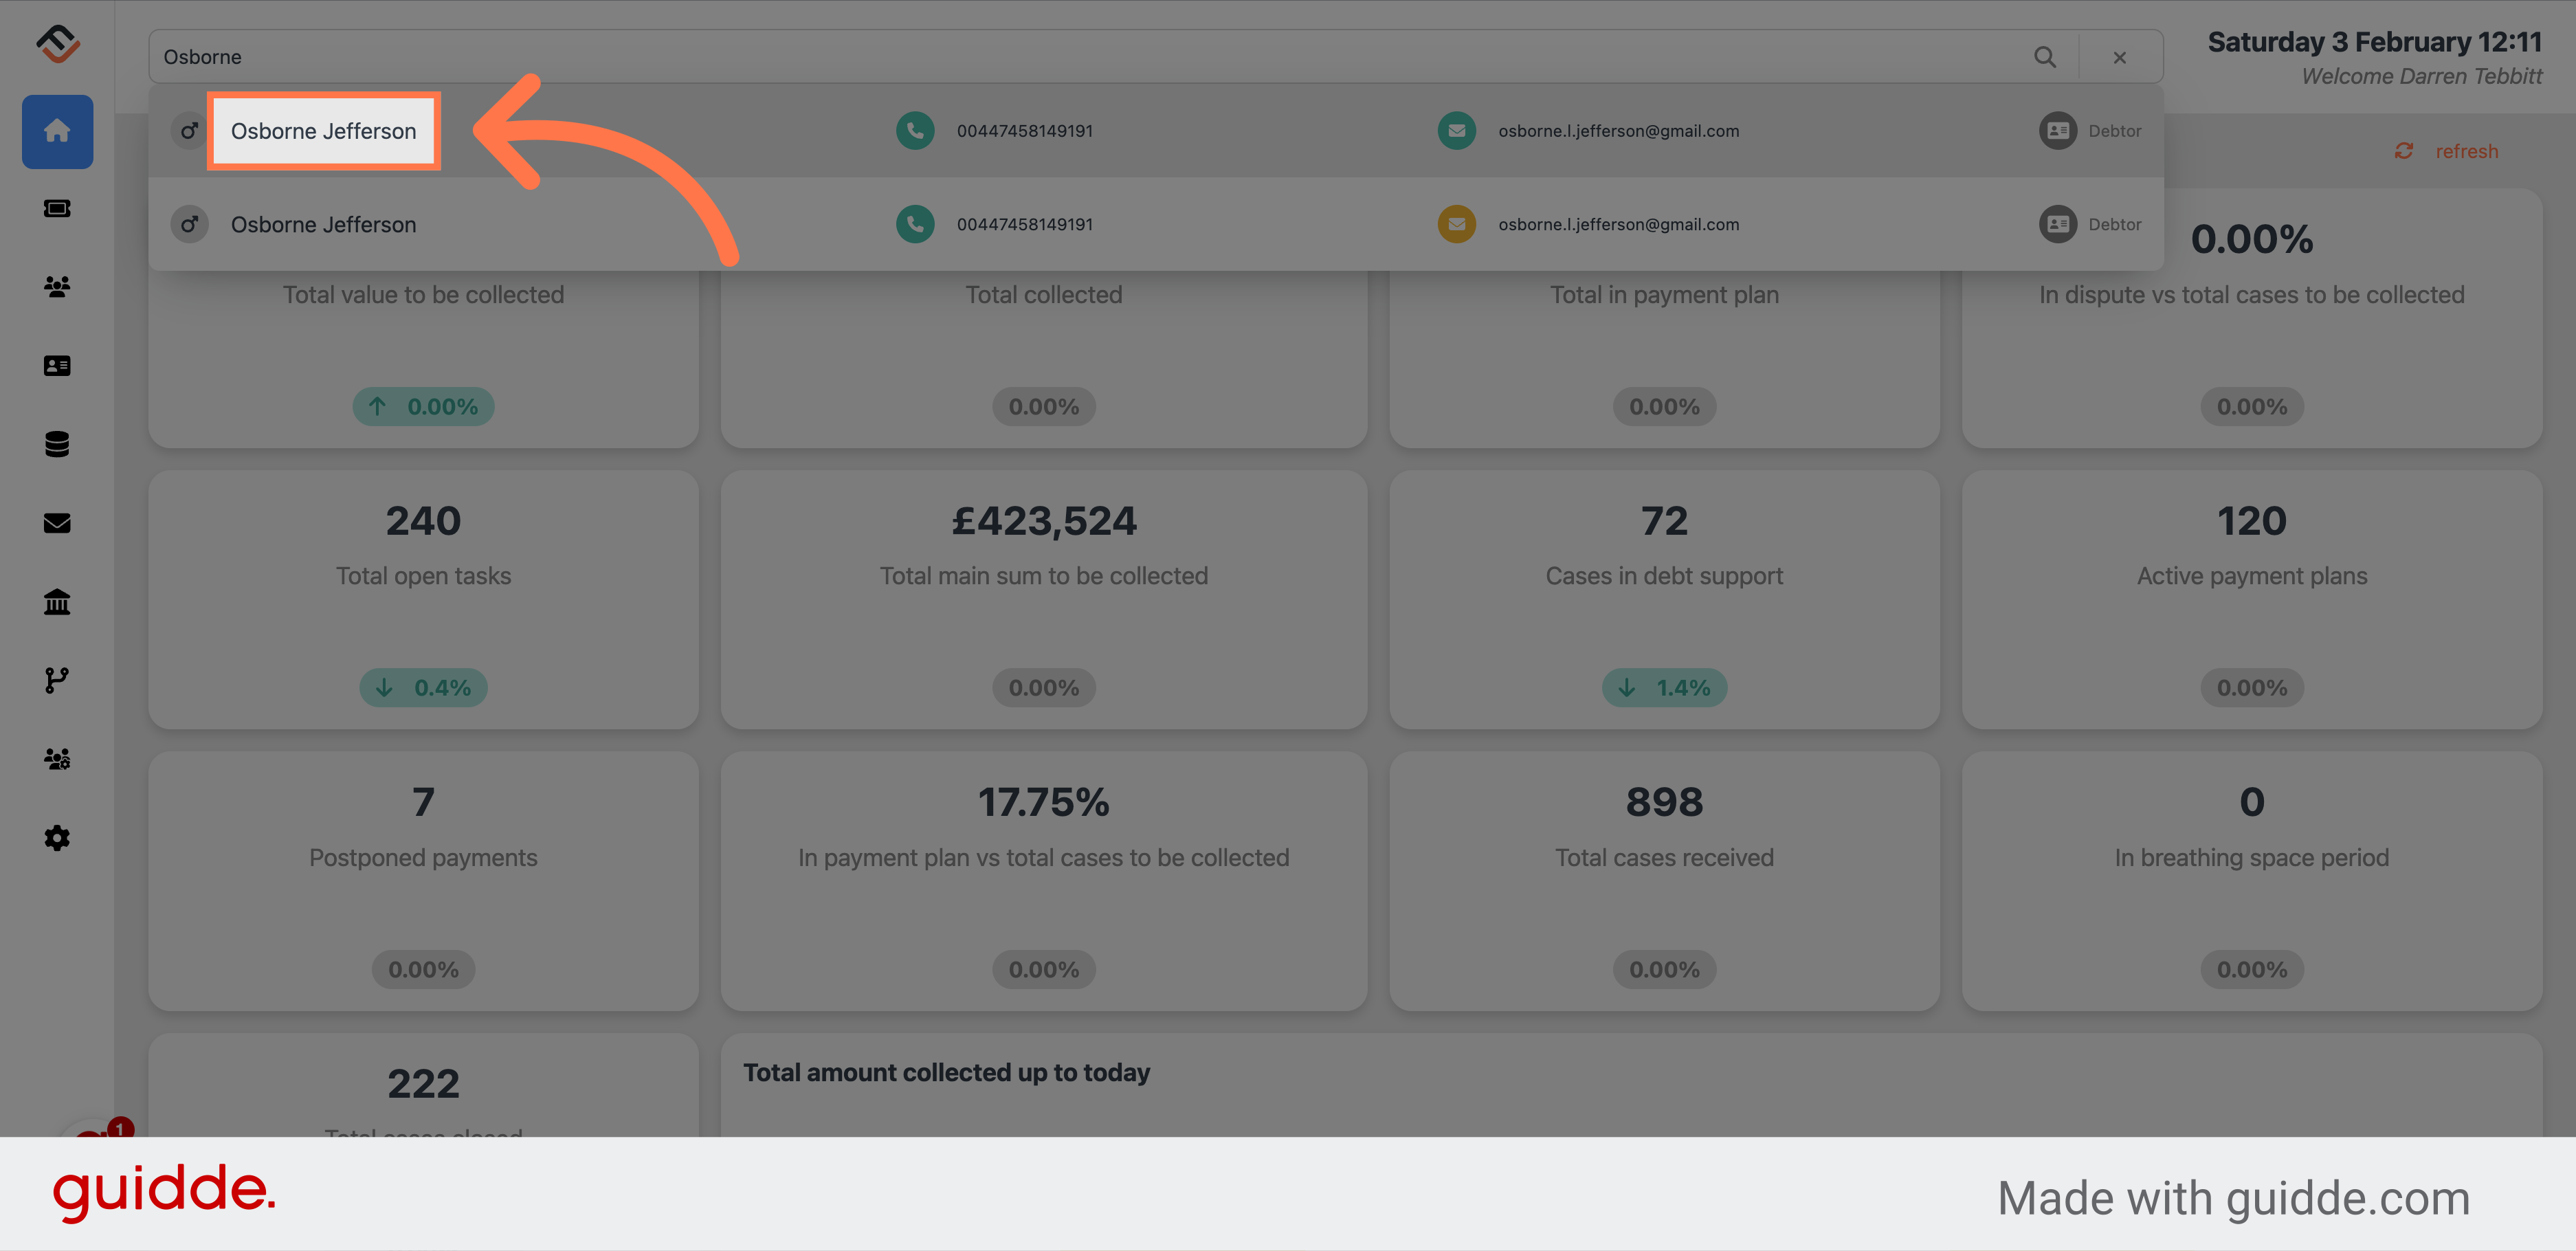
3. Click on the result
From the search result, click on the right case.
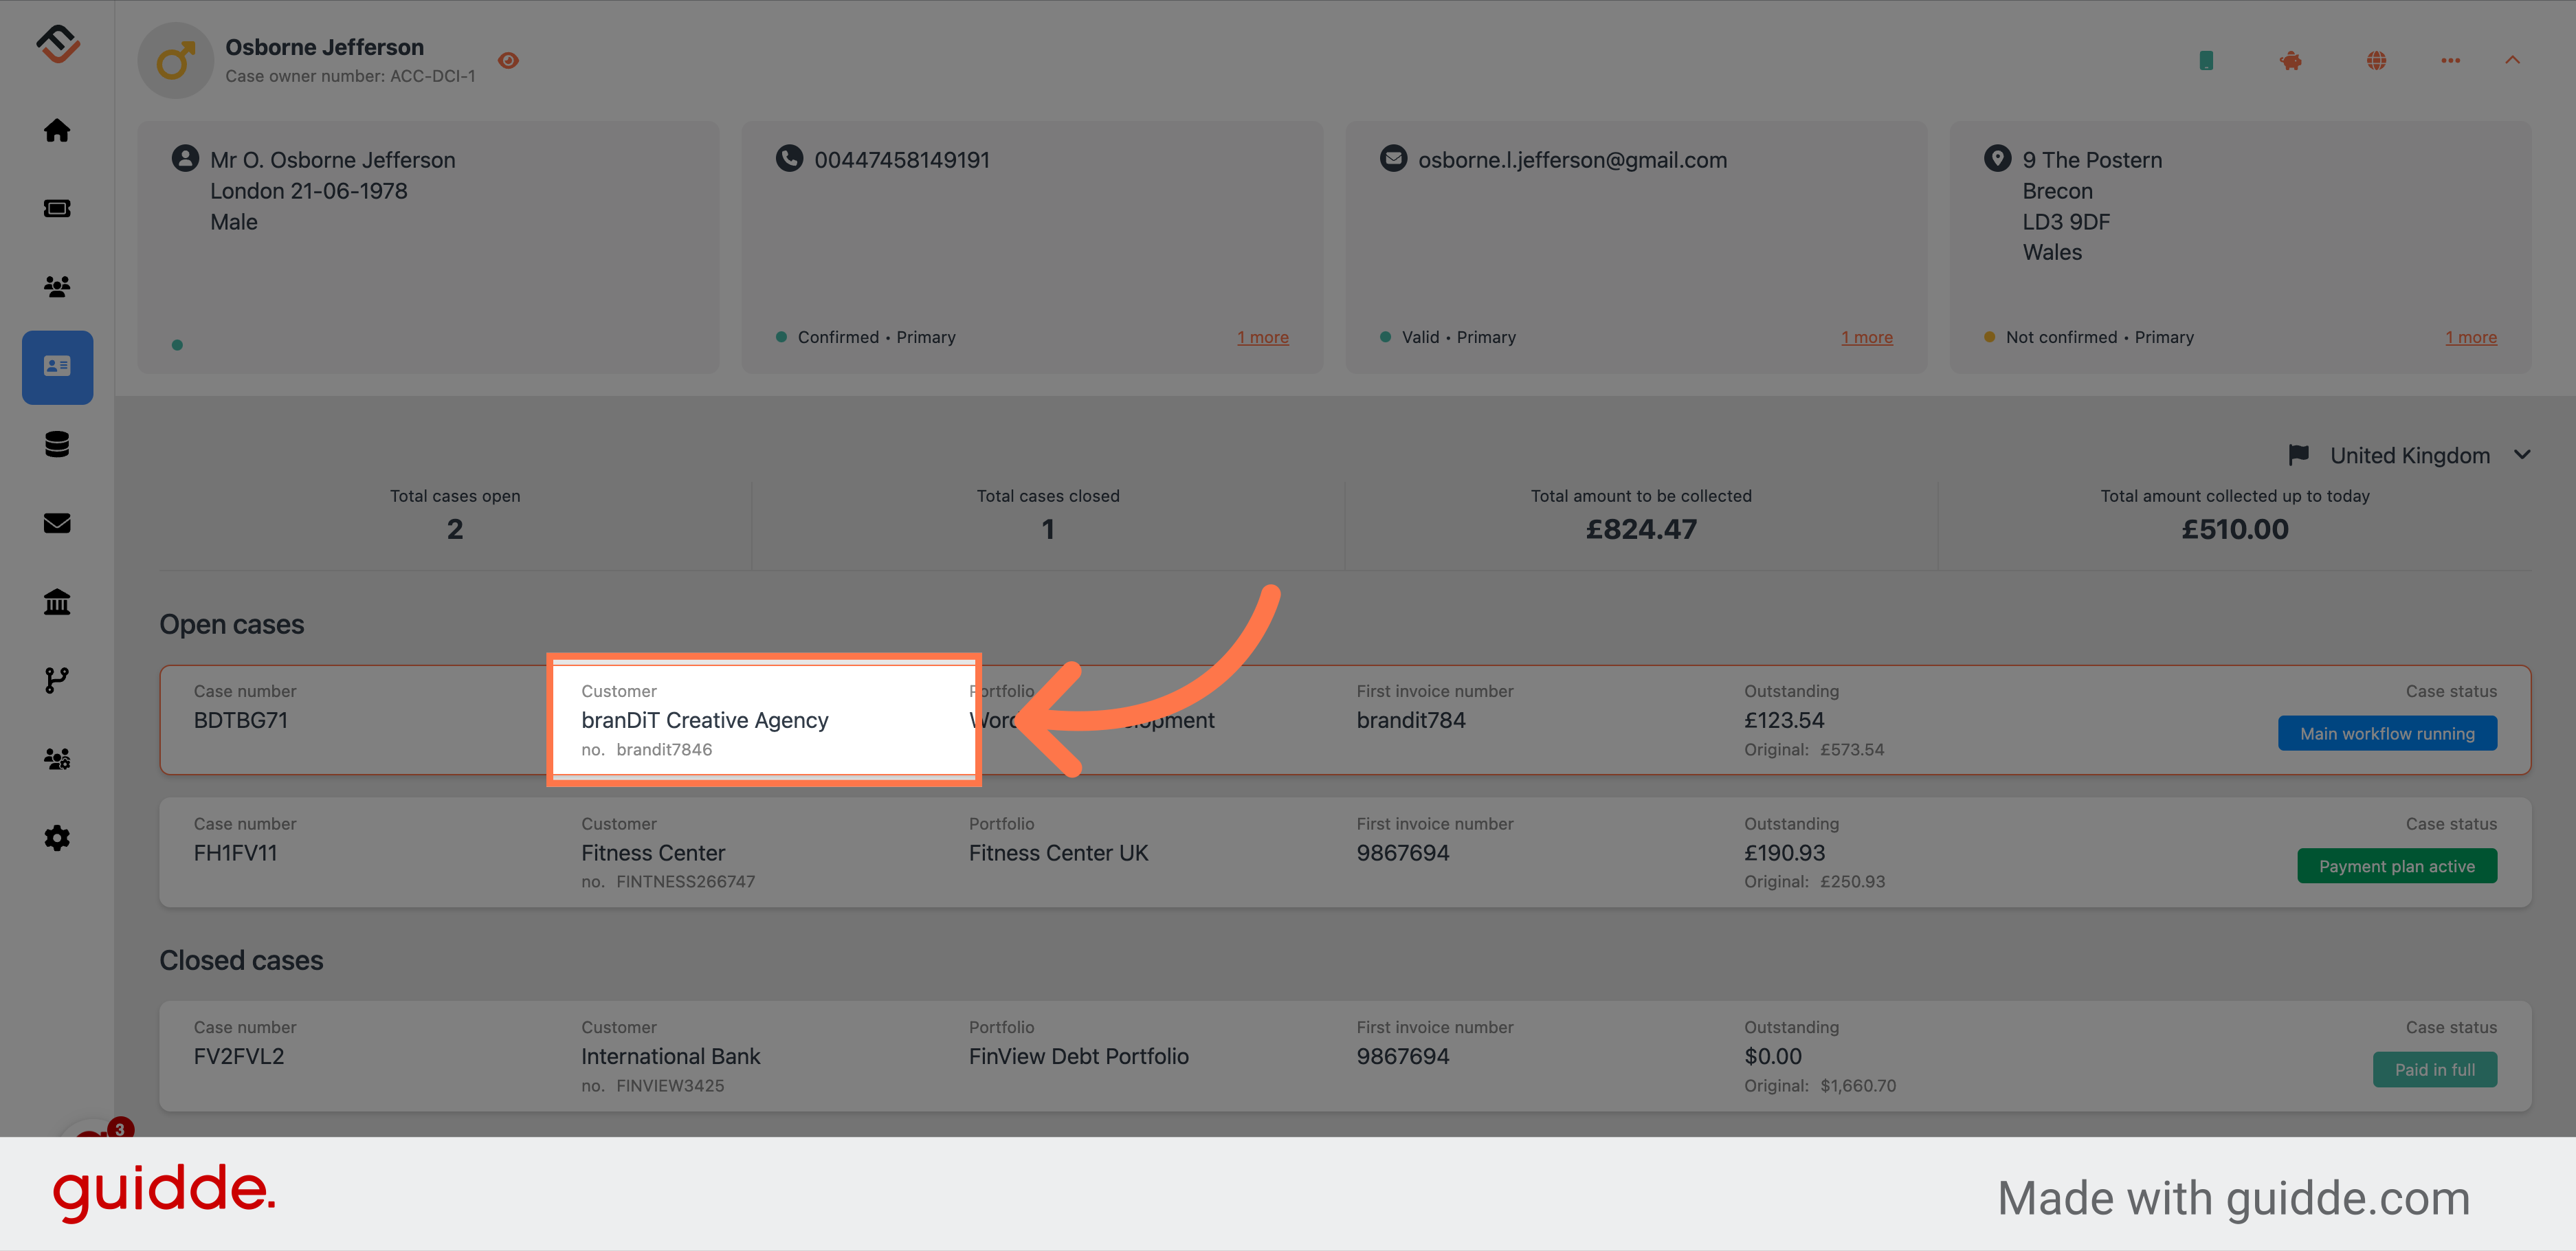
4. Select the case
From the open cases, select the case you want to relink. You can use your mouse to hover over the case which will highlight in orange.
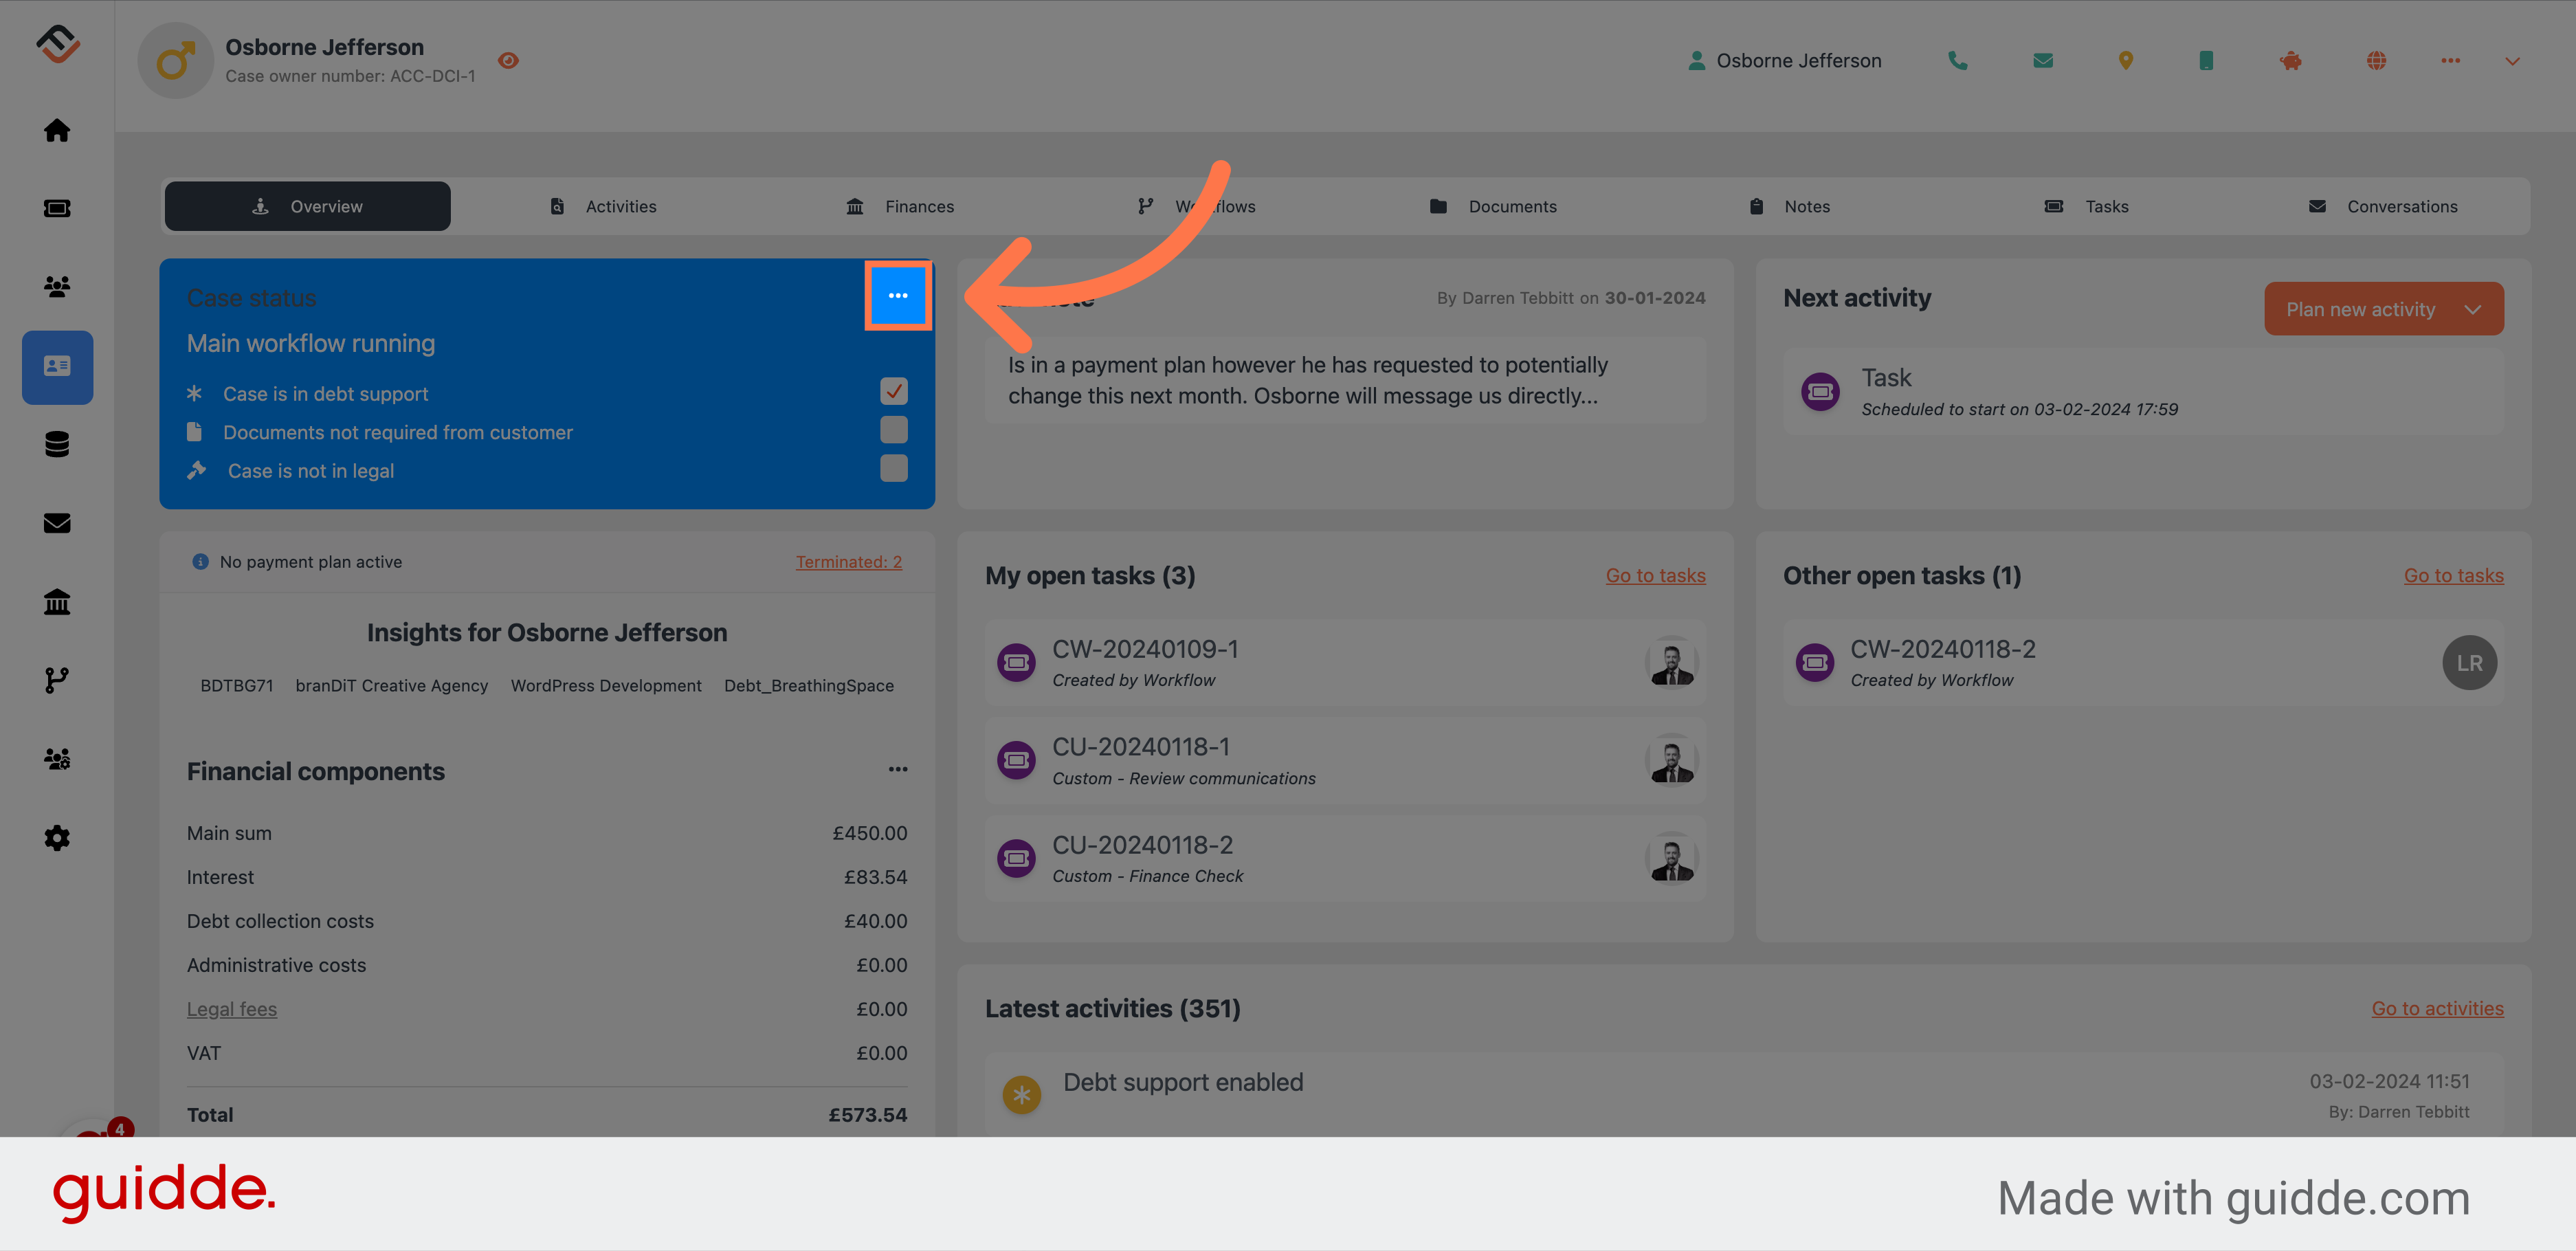
5. Access the case status options
In the case, you need to click the 3 dots in the case status box.
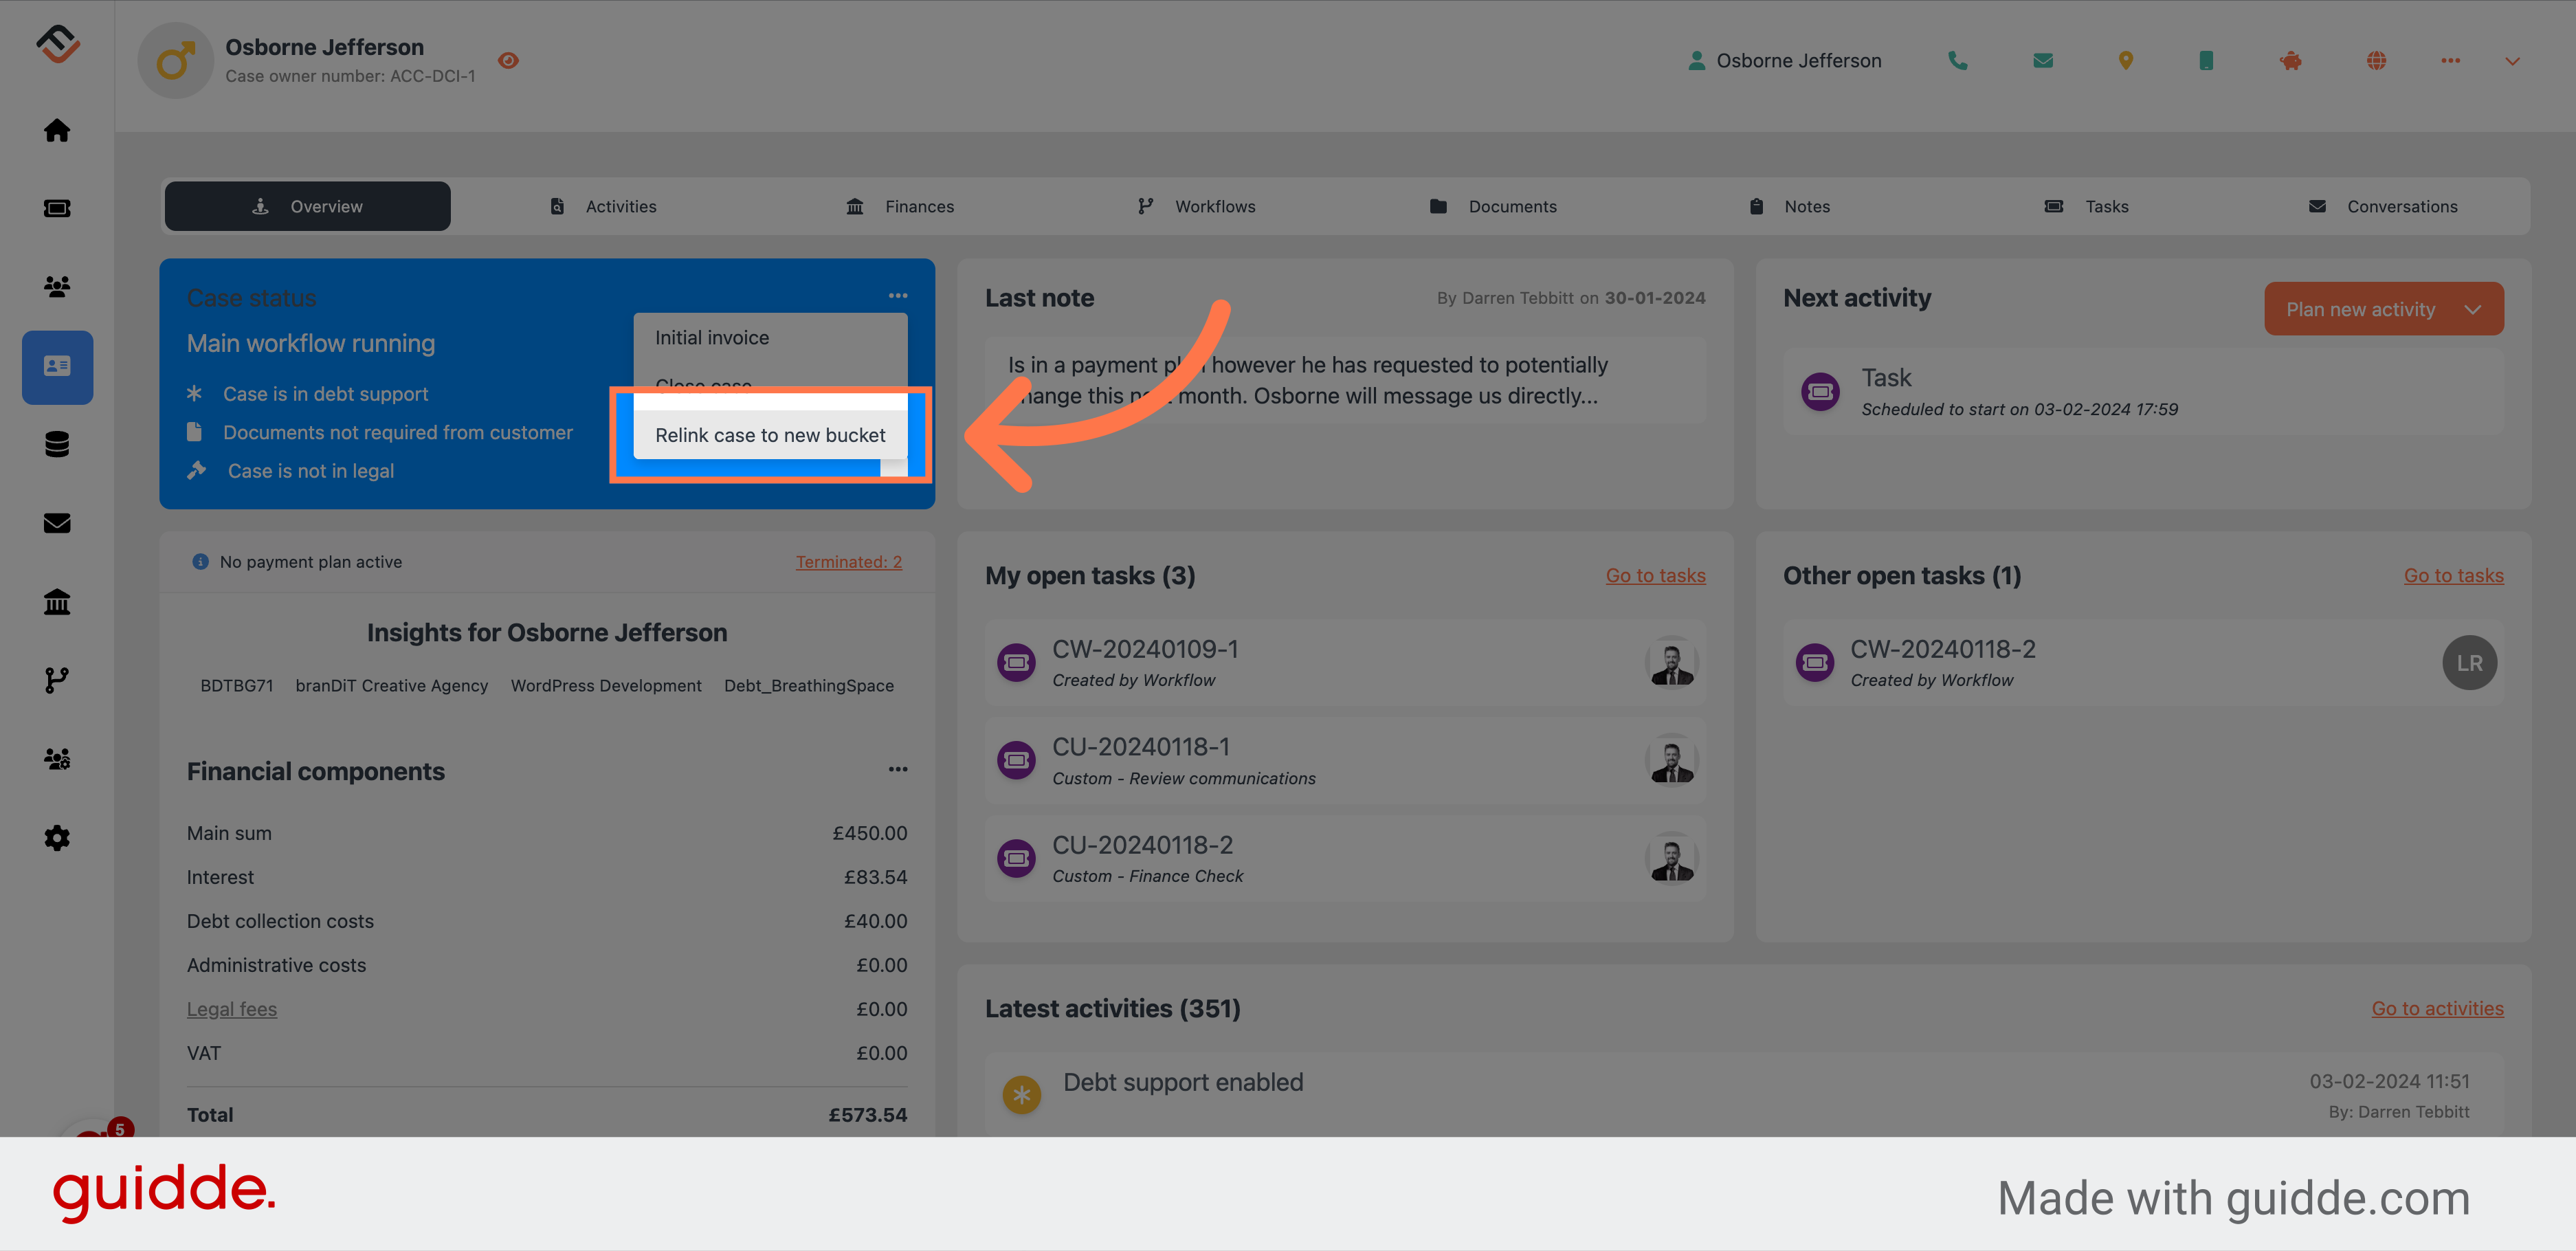
6. Select "Relink case to new bucket"
From the drop down list, select "Relink case to new bucket" option.
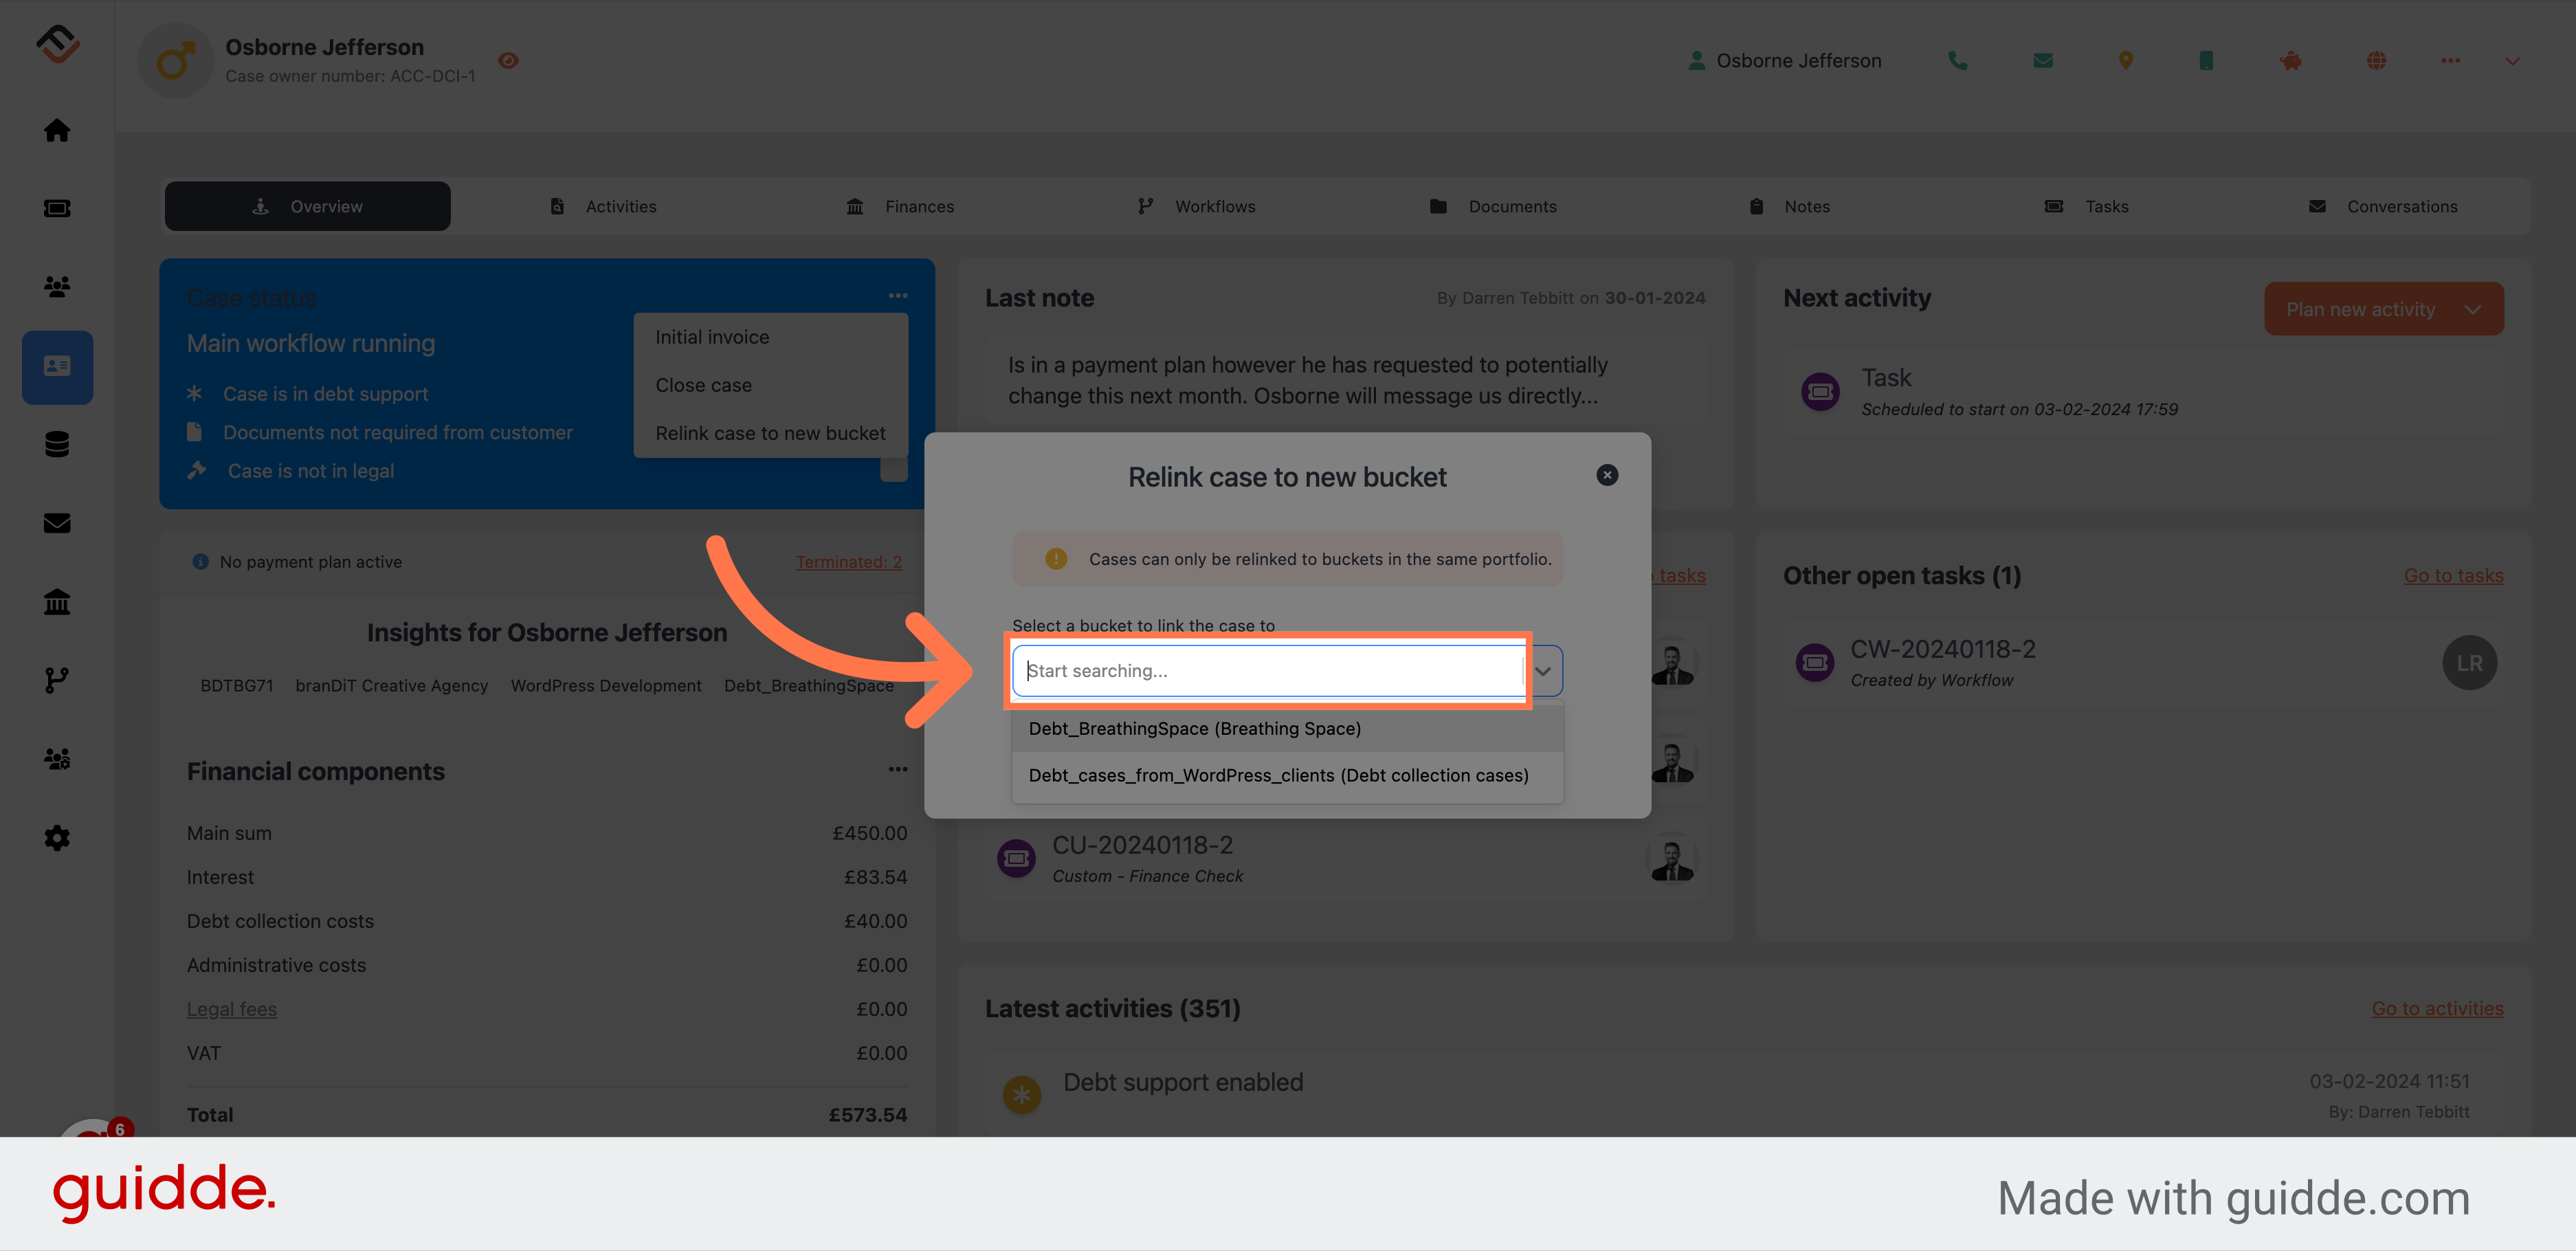
7. Click on the bucket drop down list.
Click on the bucket drop down list which will present you with the different bucket options.
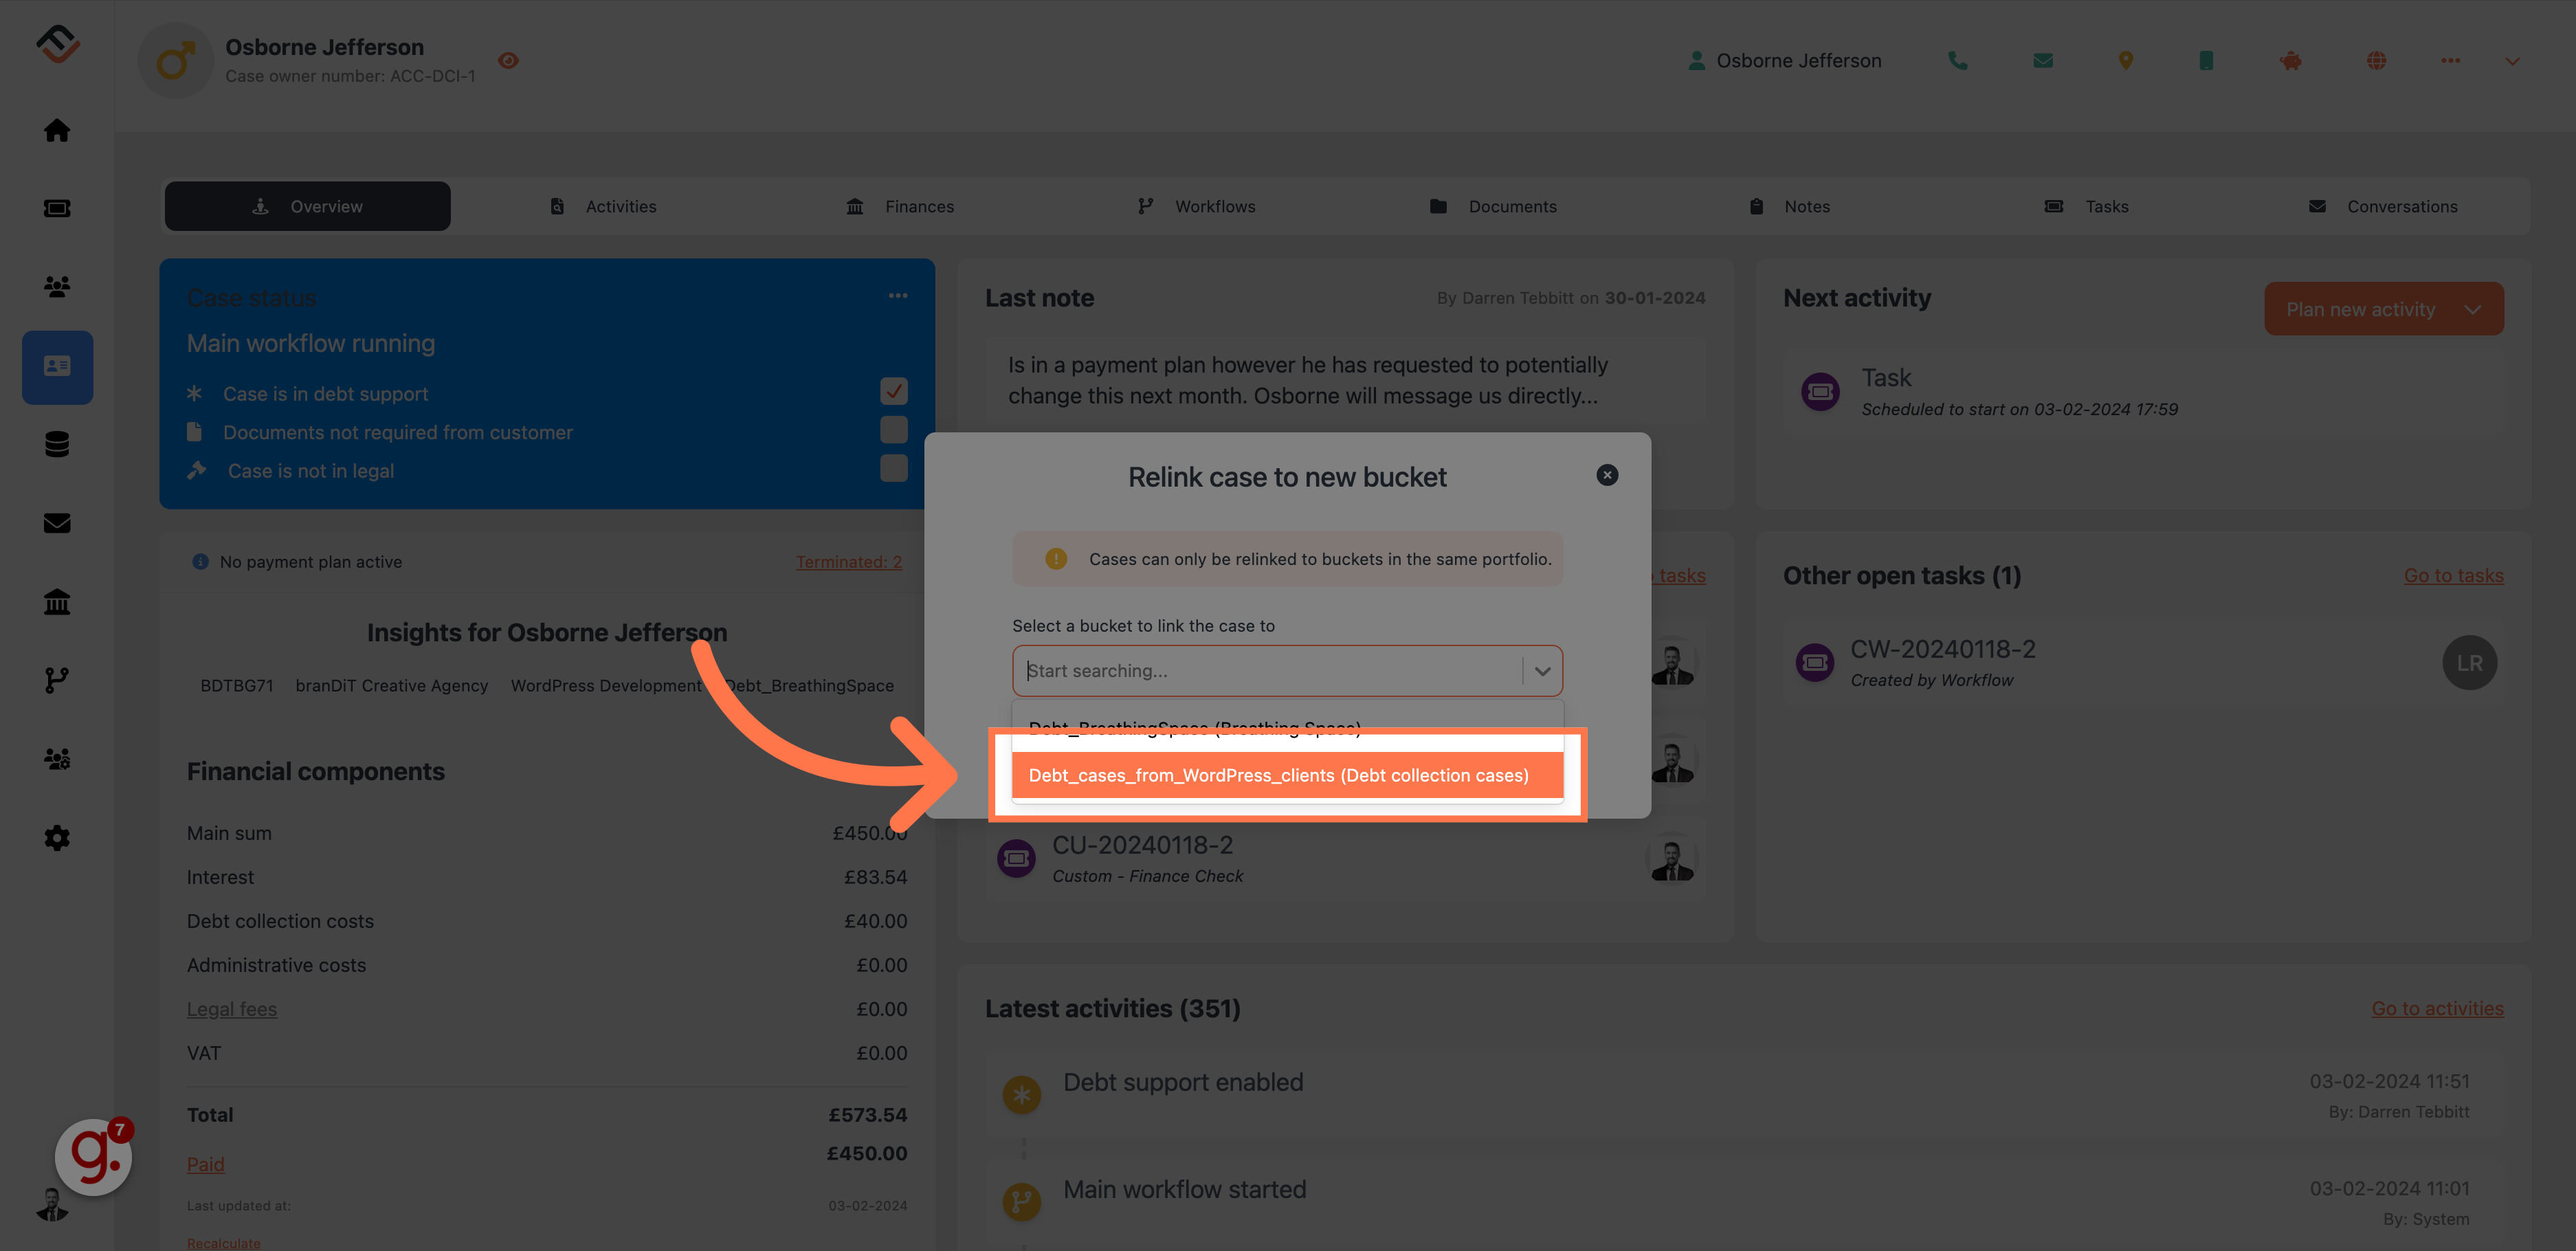
8. Select the new bucket.
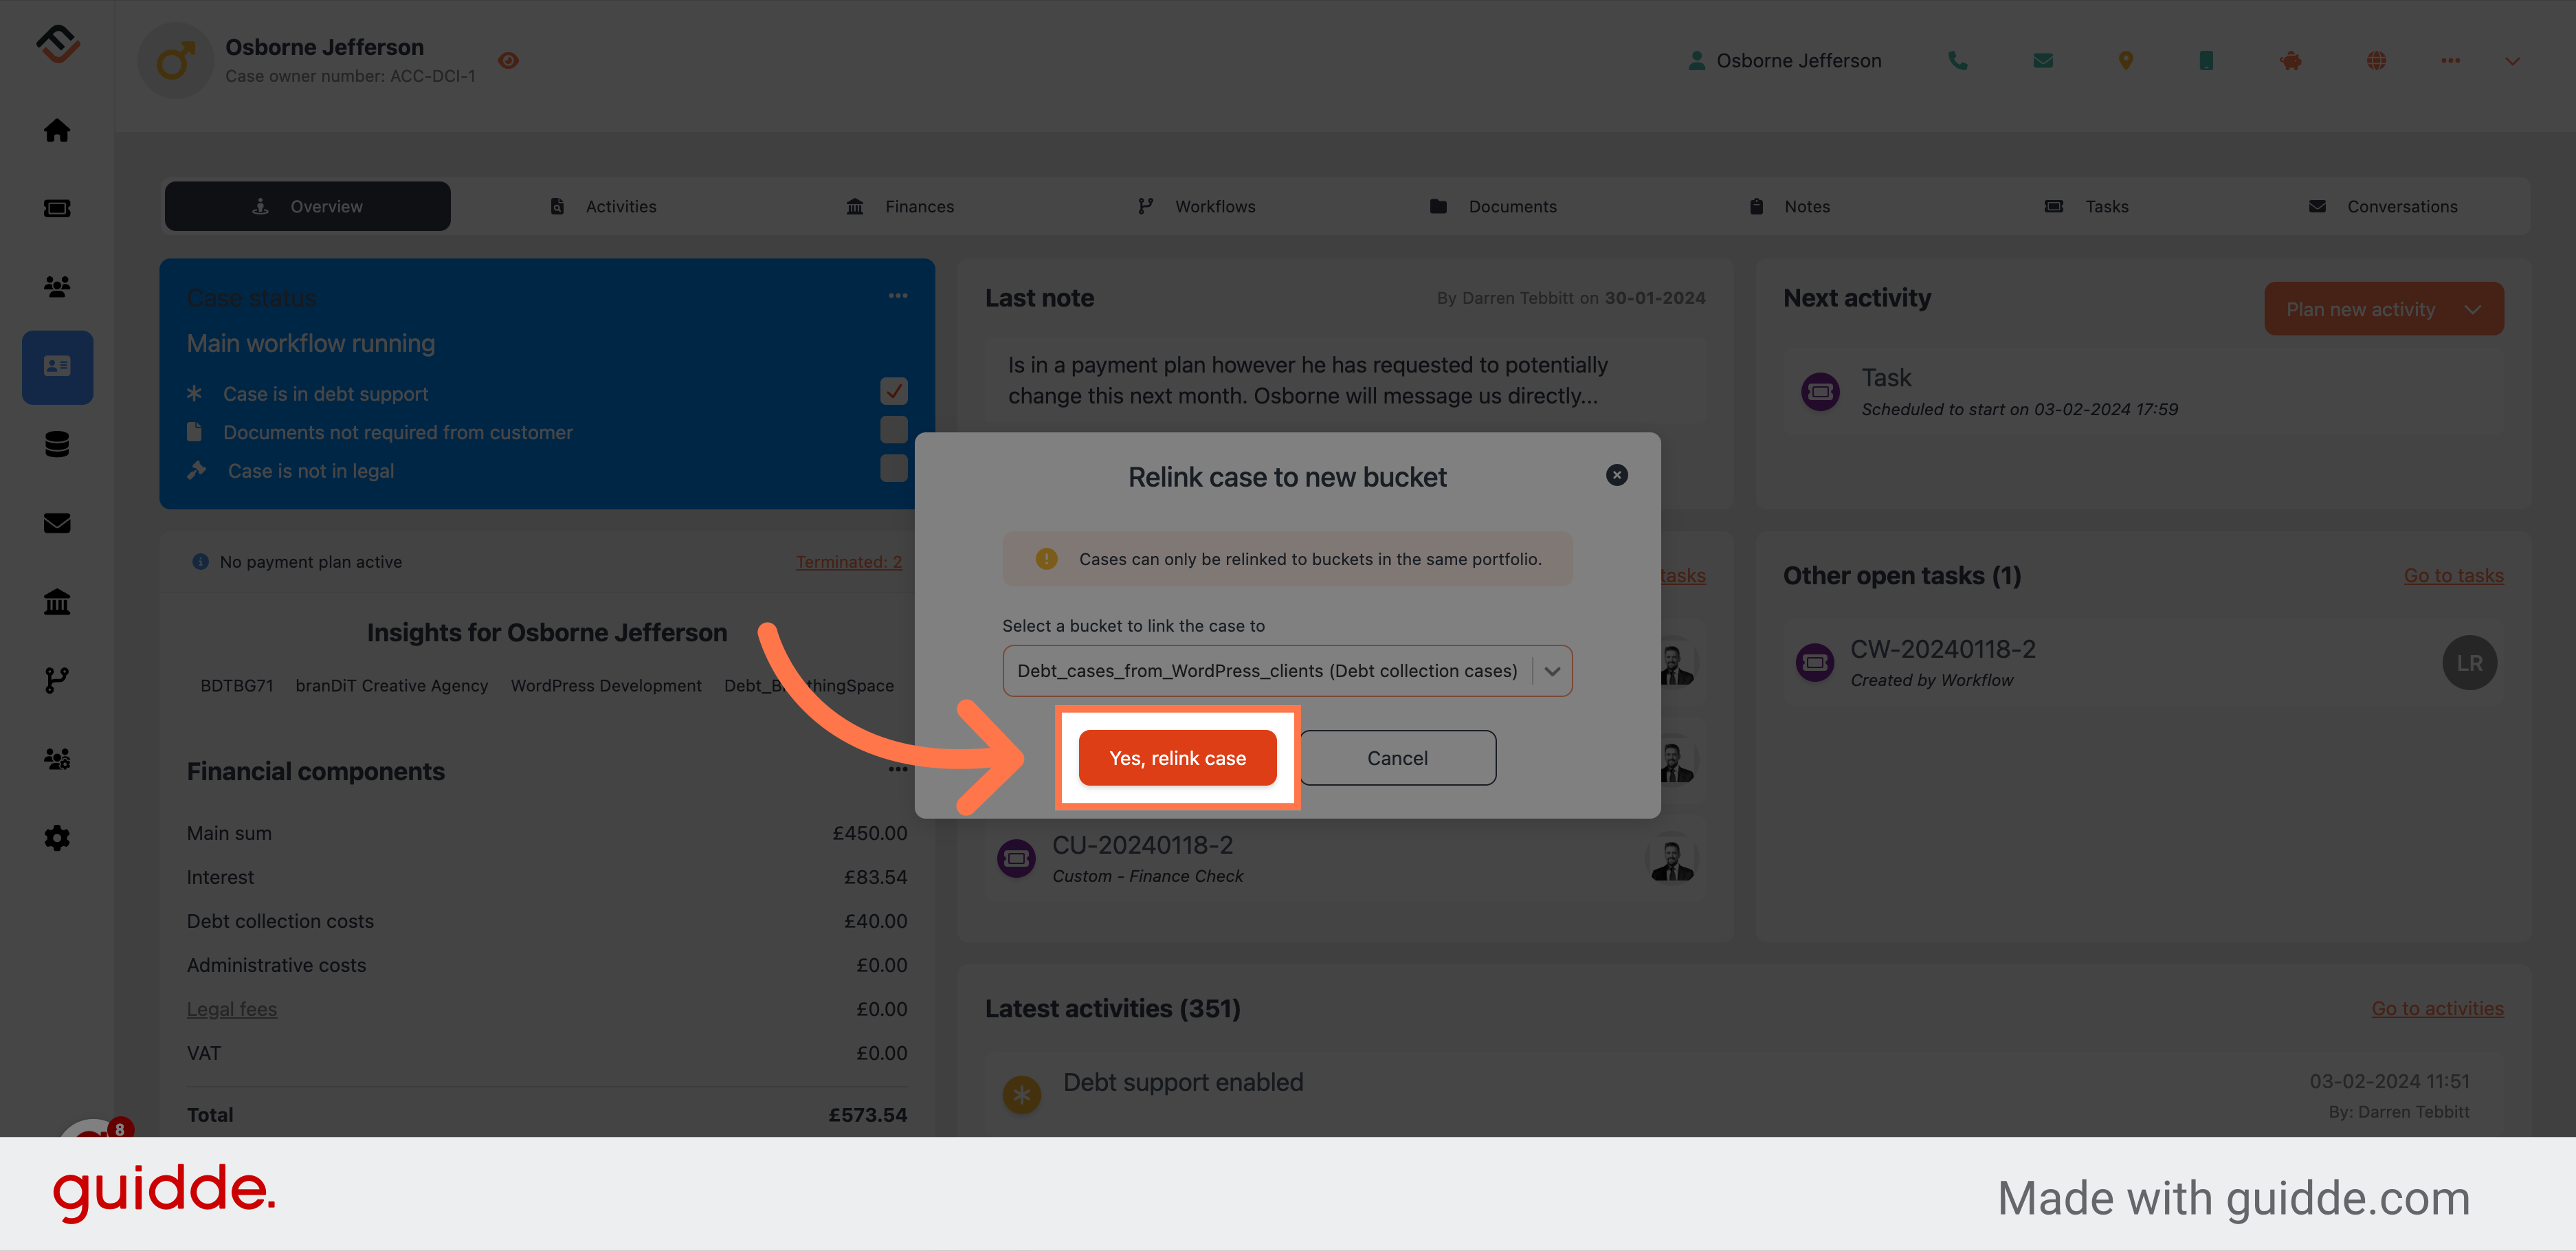
Select the new bucket, for this example, we have chosen the Debt Cases from Wordpress clients bucket.
9. Save the new bucket
Click on "Yes, relink case" to confirm the case relinking.
It is crucial to remember that cases which have received payment from a debtor are ineligible for relinking. This ensures the integrity of financial transactions and case histories within FinView.
Conclusion
Relinking a case to a new bucket in FinView is a straightforward process designed to accommodate changes in collection strategies or workflows. By following the steps outlined above, users can ensure that their cases are managed in the most appropriate buckets, reflecting any new terms or conditions. Always verify that the case meets the eligibility criteria for relinking, particularly regarding debtor payments, to maintain seamless case management and collection processes.
 Help Center